The best first sensor build may be the one that avoids analog readings altogether. Among sensor technology projects for students, ultrasonic obstacle detection is a practical starting point: the sensor sends sound pulses, and a microcontroller uses their return time to estimate distance. That gives beginners a clear input-and-response project without making analog electronics the main challenge.
It’s understandable to hesitate when a project involves interpreting changing sensor values. Make the first build manageable: detect an object, display or respond to its measured distance, then observe how the result changes as the object moves. From there, explore light, temperature, or soil monitoring as interests develop.
This guide compares sensor technology projects for students by what they detect and teach, from obstacle detection and automatic lighting to weather and soil monitoring. It also offers practical guidance on choosing sensors and microcontrollers, so you can match a first build to learners’ experience and progress from a basic reading to a responsive system.
Key Takeaways
- Match a project to the input you want to detect, from nearby obstacles and gas to light, temperature, and soil moisture.
- Explore how ultrasonic and infrared sensors can trigger useful responses, such as an alert or automatic lighting.
- Use practical project examples to see how sensor readings can guide monitoring and control.
- Choose a sensor and microcontroller based on the kind of input, output, and coding challenge your build requires.
- See how Maker & Coder’s MC 4.0 Kit, curriculum, MC Blocks, and teacher training can support structured project learning.
Ultrasonic Distance and Obstacle Detection
A sensor turns an environmental input into information a microcontroller can process. A temperature sensor, for example, responds to heat, while an ultrasonic module detects reflected sound. The controller reads the signal, applies programmed conditions, then displays a value or triggers an output. This input, decision, and response sequence is a useful foundation for electronics projects.
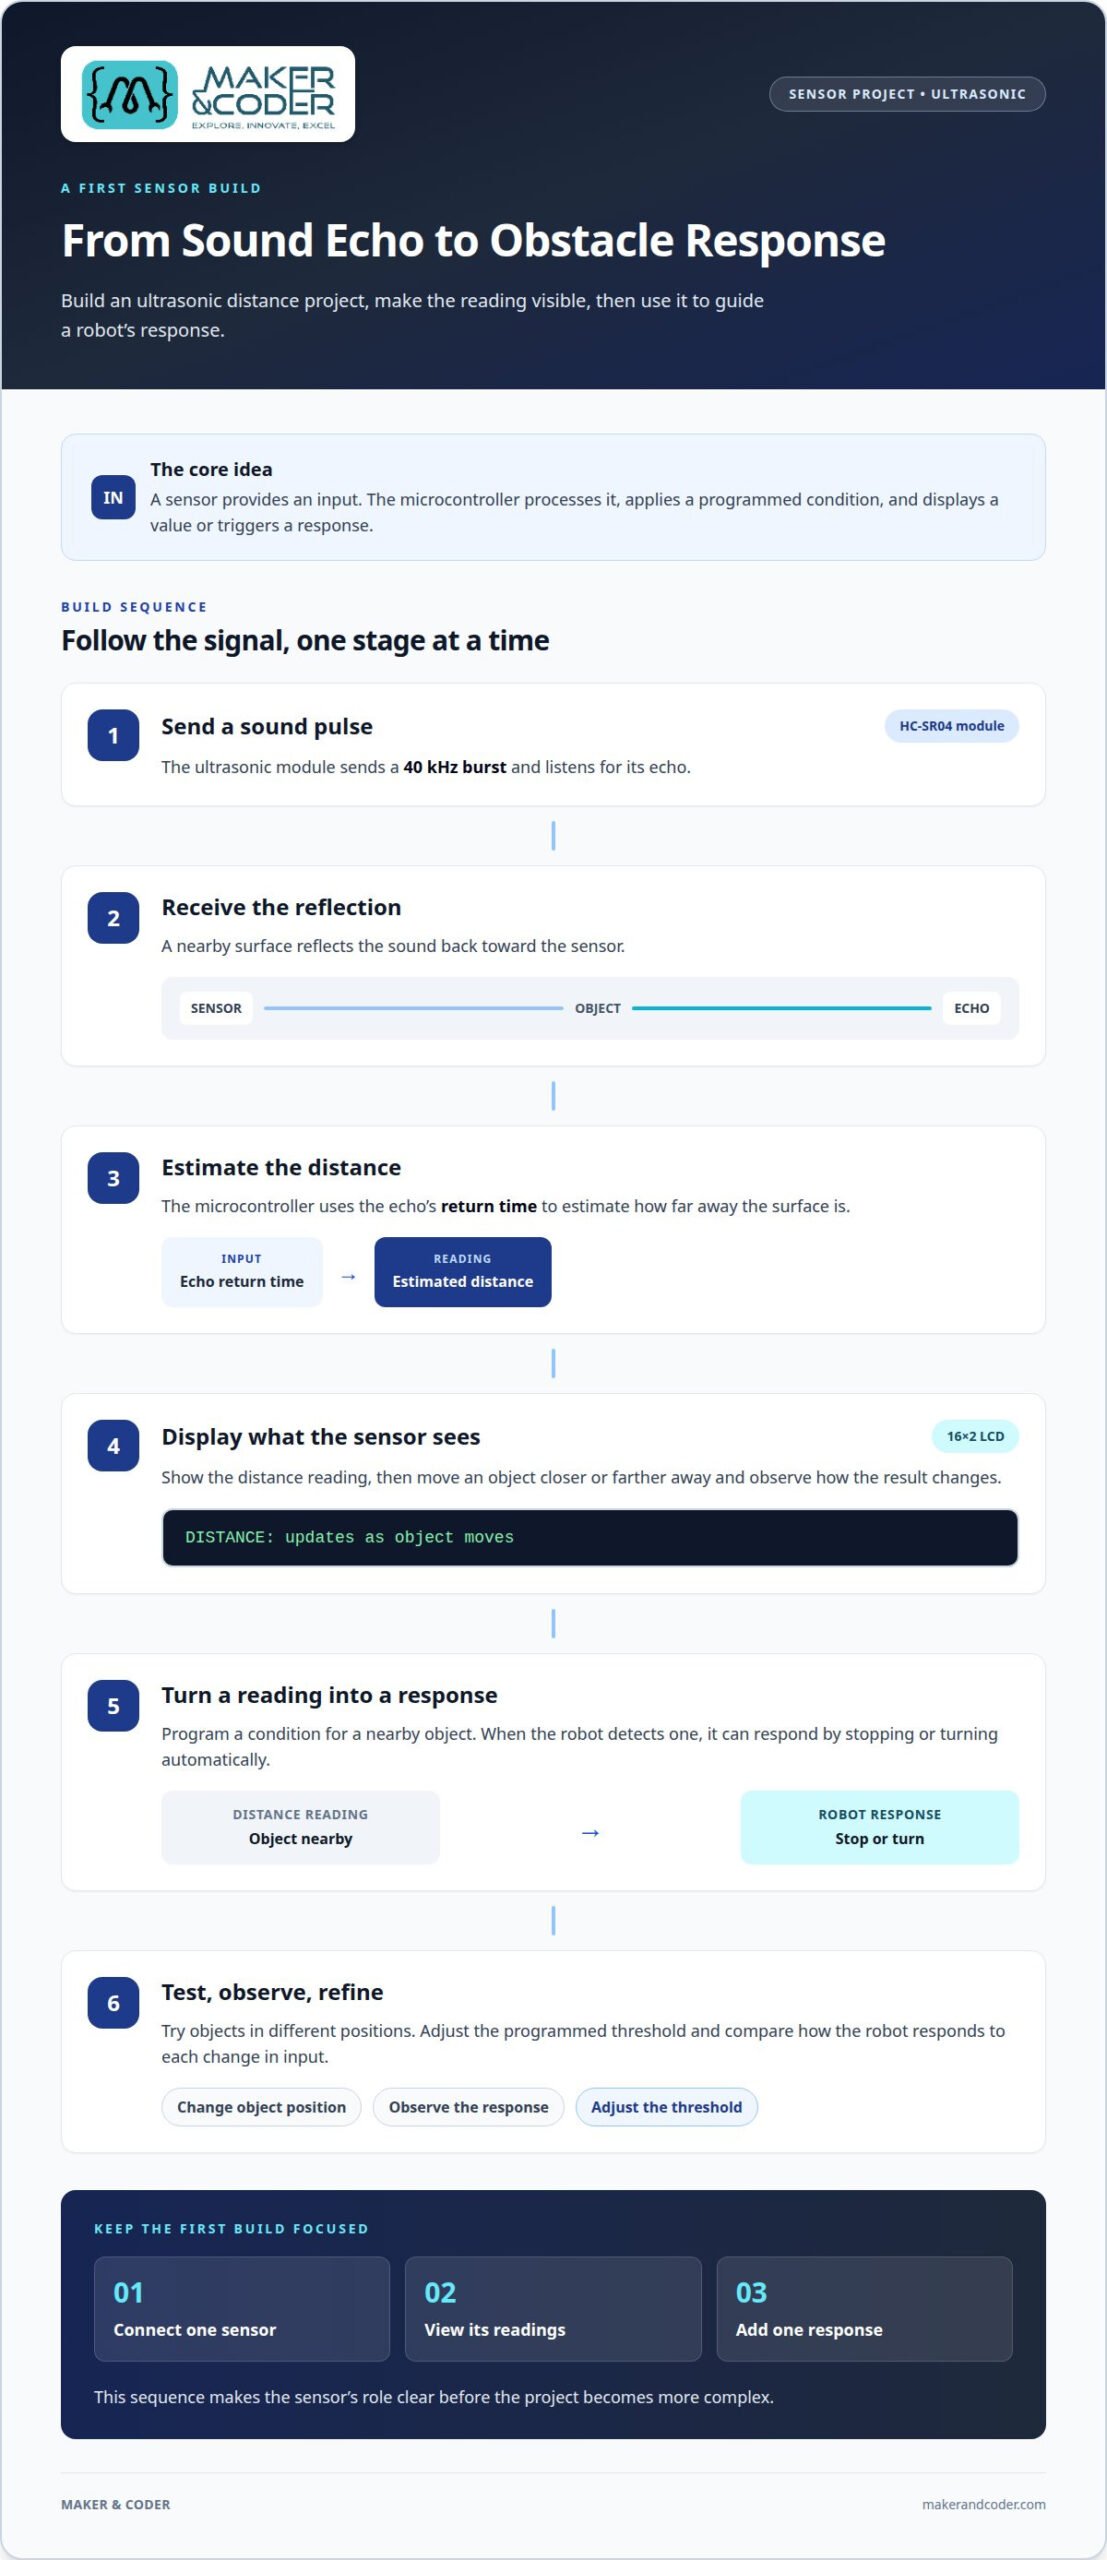
Build a distance meter with an HC-SR04 ultrasonic module and a microcontroller. The module sends a 40 kHz burst and listens for its echo. A nearby surface reflects the sound; the controller uses the return time to estimate distance. Displaying the result on a 16×2 LCD makes changes easy to observe as you move an object closer or farther away.
Turn a distance reading into an obstacle-detection project by programming a response condition. When a robot detects a nearby object, it can stop or turn automatically. Test the response with objects in different positions, then adjust the programmed threshold. This connects sensor readings with movement and shows students how a small change in input can affect a device.
For a demonstration of LPG leak detection, connect a gas sensor to a microcontroller and set a detection threshold. The program can send a Telegram notification when the reading crosses that threshold, if the project has a suitable network connection and alert setup. Treat this as a learning prototype, not a substitute for a purpose-built gas alarm.
Gas, smoke, and fire projects can demonstrate different kinds of detection. A gas sensor responds to selected gases, while a smoke sensor detects smoke-related changes. A flame sensor can provide an input when it detects flame. In each project, display the reading or activate an indicator, such as a buzzer, when the programmed condition occurs.
Color and rain sensors offer another way to explore environmental inputs. A color sensor can distinguish reflected colors, such as sorting red and blue objects into separate groups. A rain sensor can respond to water on its sensing surface, allowing a model window to close or an alert to activate. Students can compare readings under different conditions and refine the response.
Keep each build focused: connect one sensor, view its readings, then add one response. An ultrasonic sensor can display distance; an LPG prototype can send an alert. These steps make the sensor’s role clear before the project becomes more complex.
IR Sensing for Traffic and Lighting
Infrared sensing can help a project detect nearby objects. A project can use that change to trigger an action, such as switching on a model streetlight when a vehicle passes. This gives a robotics build a clear sequence: detect, process, respond. An infrared sensor can provide the input for such an activity.
For a traffic demonstration, position a sensor beside a small road and connect its output to a controller. When a toy vehicle passes, the reflection changes and the program can activate a warning light. At a hairpin bend, an infrared-sensor project can detect an approaching vehicle and warn traffic from the opposite direction. The model helps learners explore how sensor placement affects detection.
A light-dependent resistor, or LDR, responds to the light falling on it. In an automatic streetlight project, connect the LDR so a controller can read changes between bright and dark conditions. Program the light to switch on in darkness and off in sunlight. The project materials list a 10 kΩ resistor and a 220 Ω resistor, giving students concrete components to identify in the circuit.
Combine motion detection with lighting to create an occupancy-based model. A sensor detects motion or heat, and the controller changes the light state when someone enters or leaves the monitored area. The U.S. Environmental Protection Agency describes occupancy sensors as controlling lighting based on the presence or absence of motion or heat. Students can test the model by walking past the sensor and observing its response.
For adjustable brightness, map LDR readings to a pulse-width modulation, or PWM, output. A light-intensity controller can use values from 0-255, with the programmed output changing as ambient light shifts. For example, the controller can make an LED brighter as a model room grows darker. This links an environmental reading to a gradual lighting response rather than a simple on-or-off action.
Build the project in stages. First, display or record the LDR reading in sunlight, shade, and indoor lighting. Next, set the condition for switching the lamp, then add PWM control if adjustable brightness is the goal. For traffic sensing, test the infrared sensor with a vehicle in different positions. Comparing responses helps students refine sensor placement and understand how the controller turns input into action.
Temperature and Weather Monitoring
Track temperature changes with a sensor, then use a microcontroller to display or respond to each reading. For example, place a sensor beside a classroom window and record how sunlight affects the measurement. A weather project can extend this idea by monitoring temperature, humidity, or air pressure together. Each reading represents a different environmental condition, so students can compare how conditions change over time.
Temperature sensors come in four common types: thermistors, thermocouples, resistance temperature detectors, and semiconductor-based sensors. A PT100 resistance temperature detector measures temperature through changes in electrical resistance. It has a resistance of 100 Ω at 0 °C and approximately 138.5 Ω at 100 °C. Students can compare readings at different temperatures and observe how resistance provides information about heat.
Build a weather-monitoring device by connecting a sensor that measures temperature, humidity, and air pressure. Record readings at regular intervals, then compare the results across a day or between indoor and outdoor locations. An environmental temperature, humidity, and air pressure sensor can support this kind of measurement project. A display or data log makes patterns easier to interpret.
A temperature-controlled soldering station demonstrates feedback control in a practical machine. A temperature sensor monitors the heating element, and the controller compares the reading with a selected target. If the measured temperature falls below that target, the program can signal the heater to supply more heat; once the reading reaches it, the response changes. Students can map the sequence as sensor input, comparison, and output.
Keep a soldering-station build focused on the control logic. First, show the sensor reading; next, set a target temperature; then program the controller to respond to the difference. A display can show both values, making it easier to see how a machine reacts as the measured temperature changes. Treat this as an electronics learning model, not instructions for constructing a working soldering tool.
For weather records, pair sensor readings with timestamps so each measurement has context. A DS3231 real-time clock communicates over I2C and keeps time using a backup battery when main power is off. Its timing accuracy is described as a couple of minutes per year. Students can use dated readings to compare temperature and humidity trends, then explain what changed during a chosen observation period.
Agriculture and Soil-Moisture Monitoring
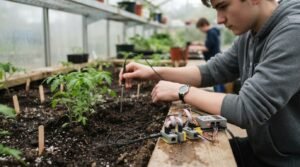
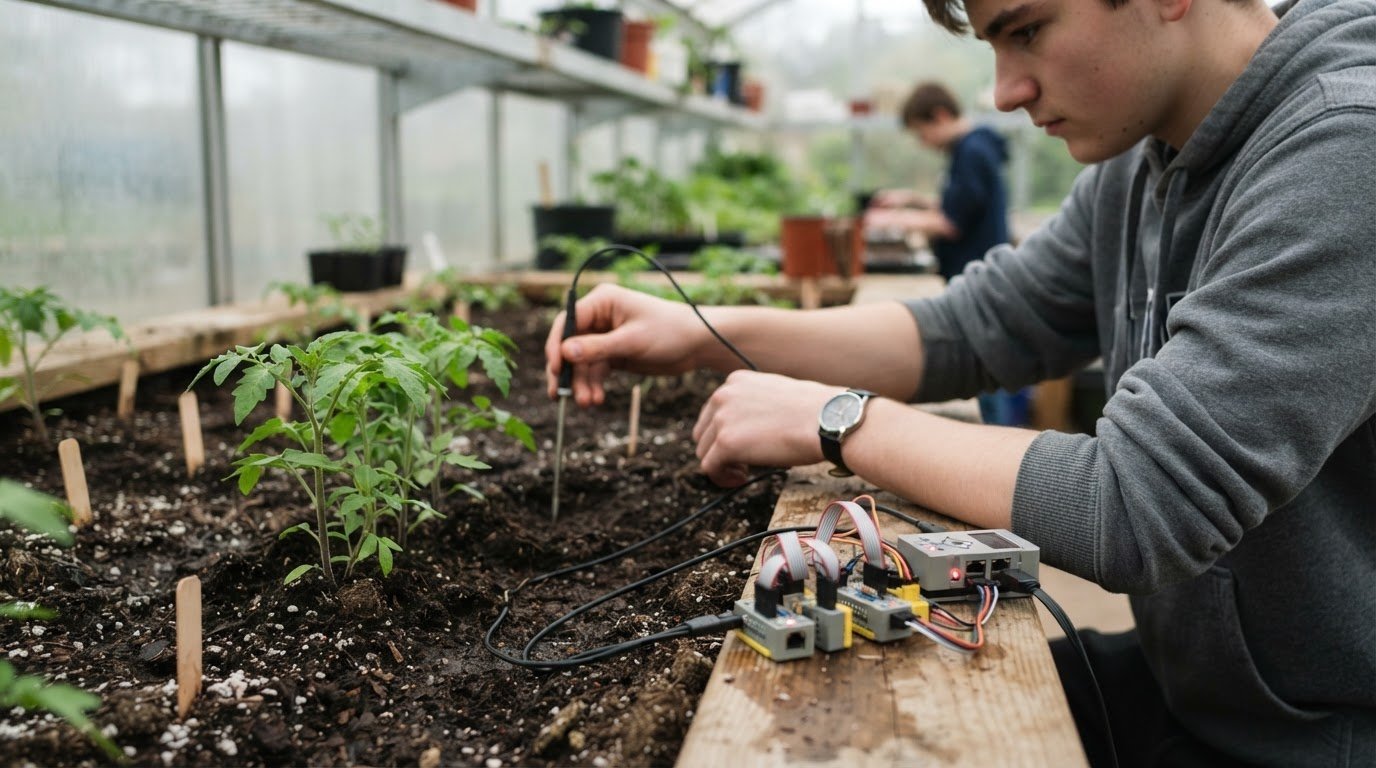
Pair a soil-moisture sensor with a potted plant to explore how growing conditions change. Soil monitoring is one of the more accessible sensor technology projects for students interested in gardening. Insert the sensor into the soil, connect it to a microcontroller, and record readings alongside observations of the plant and soil.
Make the comparison meaningful by keeping the test conditions consistent. Use the same pot and soil, place the sensor at the same depth, and note whether the soil has recently been watered. An Earth sensor can support a project about ground conditions. Students can compare measurements from separate pots or from different areas of a garden.
After collecting readings, choose a threshold for a simple alert. Program the microcontroller to activate an LED or buzzer when the reading reaches the selected condition. Change the threshold and observe how often the alert responds. This helps students explore how programmed decisions affect a practical monitoring system.
A next step is a model that controls watering. An automatic plant-watering project lists a 5 V submersible water pump among its materials. Add the pump to the circuit and program it to respond to the soil sensor’s reading. Test the model with a small amount of water, observing how the reading and pump response change together.
Build the circuit in stages so each part has a clear purpose. First, capture readings; then add the alert; finally, connect the pump and test the control logic. Keep the sensor in a consistent position between tests. If the system responds before the plant needs water, revise the programmed threshold and compare the new behavior with earlier observations.
Students can present their findings as a small gardening investigation. Record each pot’s watering conditions and sensor readings, then describe how the measurements changed during the observation period. A buzzer can signal the selected condition during a demonstration, while the recorded data helps explain the system’s response. This connects a working circuit with evidence about the growing environment.
Choosing Sensors and Microcontrollers for Student Projects
Start with the question your project should answer. To detect a nearby object, choose an ultrasonic sensor; to measure changing light, use an LDR. A manageable starting point for sensor technology projects for students is one sensor, one microcontroller, and one visible response, such as displaying a reading or activating an indicator.
Match the sensor’s output to the controller’s input. A digital sensor sends a clear on-or-off signal, while an analog sensor provides a changing reading. If a project uses an ESP32 ADC with precision RTD or gas sensors, average readings and calibrate them, or use an external ADC. This helps students consider measurement quality, signal type, and the complexity of processing readings when choosing parts.
What safety rules should students follow when building sensor projects? Use low-voltage circuits, disconnect power before rewiring, and keep water away from powered electronics. A teacher or responsible adult should supervise heat-based builds; use simulated inputs for gas or fire detection rather than deliberately releasing gas or creating flames.
Match project complexity to learners’ experience. Elementary students can use a light sensor to switch an LED; middle school students can program a distance display; high school students can compare temperature sensors or analyze gas-sensor readings. Start with a task learners can explain, then introduce more complex inputs or data interpretation as their skills develop.
How can students collect, display, and analyze sensor data? Take readings under consistent conditions, record each value with its time or test setup, then display the results in a table or graph. For example, compare readings from two classroom locations and look for patterns. Students can also note setup changes that might affect the comparison.
Consider the full build before choosing a controller: sensor connections, required outputs, coding experience, and whether the project needs data logging. A light-sensor activity may need only a reading and an LED response, while a project with multiple readings may need a display or storage method. Confirm that the controller supports the sensor’s signal type and planned outputs.
Where can students find sensor project lesson plans? Start with teacher-provided lesson materials and use them to organise the project steps and prepare a clear presentation of the results.
Keep the first build focused: one sensor, one clear question, and one output. Once students can explain how an input changes the program’s response, they can add another sensor or a more advanced analysis step.
Maker & Coder
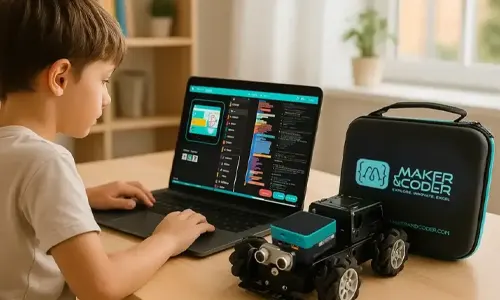
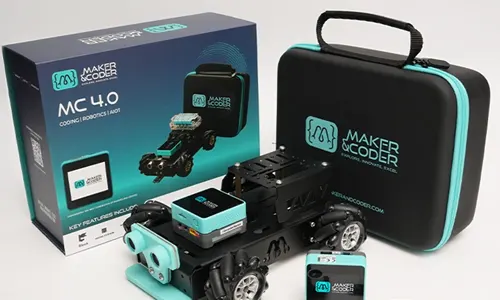
Maker & Coder is a natural next step when you want to turn sensor ideas into a structured learning project. Its MC 4.0 Kit, MC Curriculum (K-12), MC Blocks, and Teacher Training Programs can support learners and educators as they move from exploring inputs to building programmed responses.
Begin with a clear project question, such as how a device can respond to light or monitor soil conditions. The MC 4.0 Kit provides a hardware platform for practical technical learning, while the MC Curriculum (K-12) offers a structured pathway designed to integrate with that hardware. This helps connect a hands-on build with learning goals, rather than treating the sensor as an isolated component.
MC Blocks support the coding process. Students can use block-based programming to shape a project’s response to a sensor reading, then refine the sequence as they understand the connection between input and output. A classroom activity, for example, can begin with reading a sensor and progress to programming an indicator or another response. The project stays focused on what the sensor measures and how the code uses that information.
For educators planning sensor projects across a class or learning pathway, the MC Curriculum (K-12) can help organize learning around the hardware. A teacher might introduce a simple sensor-reading activity, then build toward a more developed project with programmed responses. The curriculum’s connection to the hardware provides a basis for guiding that progression without requiring each activity to stand alone.
Teacher Training Programs support educators bringing the tools and curriculum into their teaching. Teachers can use the training to build confidence with the learning platform and plan how hands-on coding activities fit their classroom goals. This can be especially useful when moving from an individual demonstration to a sequence of student projects.
Choose this pathway when you need more than a project idea: for example, when a school wants hardware, structured K-12 learning, block-based coding, and teacher preparation to work together. The combination can help educators shape sensor activities into a broader progression, while students build understanding through practical experimentation.
To discuss how Maker & Coder can support sensor project learning, contact Maker & Coder.
Maker & Coder for Sensor Technology Projects
Maker & Coder offers the MC 4.0 hardware platform and modular MC Blocks. For a sensor technology project such as an automatic street-light controller, the project details list a 10 kΩ resistor and a 220 Ω resistor.
When you’re ready to develop a project into structured learning, Maker & Coder offers the MC4.0 Controller, Base, AIoT, and Multicoding kits, alongside a K-12 MC Curriculum designed to integrate with its hardware.
Frequently Asked Questions
Which sensor project is best if I am weak in analog electronics?
A project using a digital-output sensor can be a comfortable starting point. Its signal gives the microcontroller a clear state to read, so learners can focus on program logic rather than interpreting a changing analog value. Begin by displaying the sensor state in a simple test, then decide what the project should do when that state changes.
What are beginner-friendly sensor technology project ideas for students?
Try a tilt-triggered counter, a joystick-controlled cursor, or a sound-activated indicator. Each idea gives learners a clear input and a visible or audible output to observe. For a tilt project, change the sensor’s position and note how the program responds. Add features only after the basic behavior is clear, such as resetting a counter or changing an indicator pattern.
What are low-cost sensor project kits and their prices?
Compare the listed components and learning materials with the project goals before selecting a kit. Prices and included components differ by kit.
Which sensors and components are needed for common student projects?
Start with a sensor suited to the input, a compatible microcontroller, connecting wires, and a planned output. A sound-responsive build might use a microphone sensor, controller, LED, and suitable resistors. A sturdy base or enclosure can help keep components in position during testing. Check the sensor’s connection type and the controller’s available inputs before assembling the circuit.
How can students build a simple temperature and humidity monitoring project?
Choose a sensor that measures both conditions and a controller that can read its output. Place the device in a stable location, away from direct contact with walls or other surfaces, and label each observation with its location and conditions. Display the measurements or save them in a table. Comparing locations can show how placement influences readings.
How can students create a soil moisture sensor project for gardening?
Use a soil-moisture sensor with a controller and make a simple display for different moisture categories. Before planting, take readings from the soil and compare them with its visible condition. Keep notes on the plant and watering routine alongside the readings. This gives students context for interpreting sensor values instead of treating one reading as a universal watering instruction.
How can students make a motion or distance detection project?
Choose a sensor based on whether the project needs to detect movement or estimate distance from an object. A classroom entry indicator, for instance, can register a movement event and update a counter. Test the sensor in its intended position, then compare its response to controlled passes or stationary objects. Adjust its placement before adding more code or project features.
What are the steps to build a student project using Arduino or Raspberry Pi sensors?
First, choose a sensor and confirm that its interface matches the selected Arduino or Raspberry Pi board. Review the sensor’s pin labels, connect it with the power disconnected, and run a small test program using the relevant library or input method. Check the output in the serial monitor, then build the main program. Record wiring and code changes so the project can be reproduced.